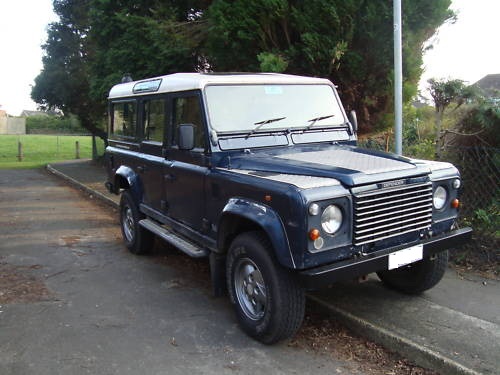
Work began today on fitting my new Raptor Engineering Dash. First, let's take a look at my standard installation - vanilla Defender, with a cheap and old radio fitted (that'll have to go.
Start by removing the two screws either side of the Rear Wiper and Cigarette Lighter plate, at the bottom of the dash. You can see here i've removed the left hand screw already.

Ok, so now just check the wiring for these, in case you want to add them to your new dash. (I'm not, I've bought new components but will re-use the wiring.

So now I removed the front plate with the Cigarett lighter, and the Radio bracket - all just pulled away, leaving a mess of wires.

Now to remove the strengthening bar. This is attached at the top right hand side, with a simple screw. Just next to the heater slider control. Unscrew this, and remove the other two screws holding this in place. It can then be lifted and moved out of the way.

Like so...

Using the template provided, make a Hardboard version of the template and attach to the two holes left after removing the cigarette\wiper facia. Make sure you get the measurements accurate. I then bolted this in place. It acts as the template for cutting out the dash.

The soft, foamy part of the dash cut (from around the template) and lifted off (the photo is midway through this), this leaves only the meta dash.

Like so....

This was then cut, vertically down the sides, and then horizontally (its ok to leave the little lip of the dash, the console goes over this).

Two small holes are drilled into the upper part of the dash, to hold the retaining brackets (these are bolted in if you have an ash-tray), and then are attached to the new dash to hold it firmly in place (in conjunction with a tight fit and it hooking over the lip of the existing dash). Sorry, the picture is upside down :-)

And the finishing product looks like so !
